
A journaling habit rarely fails for lack of enthusiasm. It usually stalls on something smaller: a notebook that won't lie flat, a pen that skips, a kit so fussy you never take it off the shelf. A good starter setup removes those small frictions before they have a chance to become excuses. The list below is deliberately short — twelve items, each chosen because you'll notice it doing a job within the first week. Nothing here is collectible, decorative for its own sake, or hard to find. Buy what you'll use, test it on real paper, and add the rest later if you find you want it.
Start With Paper: The Notebook and the Test Pad
If you're going to be careful about one purchase, make it the notebook. You'll spend hours with your hand resting on it, so the details matter more than the cover design.
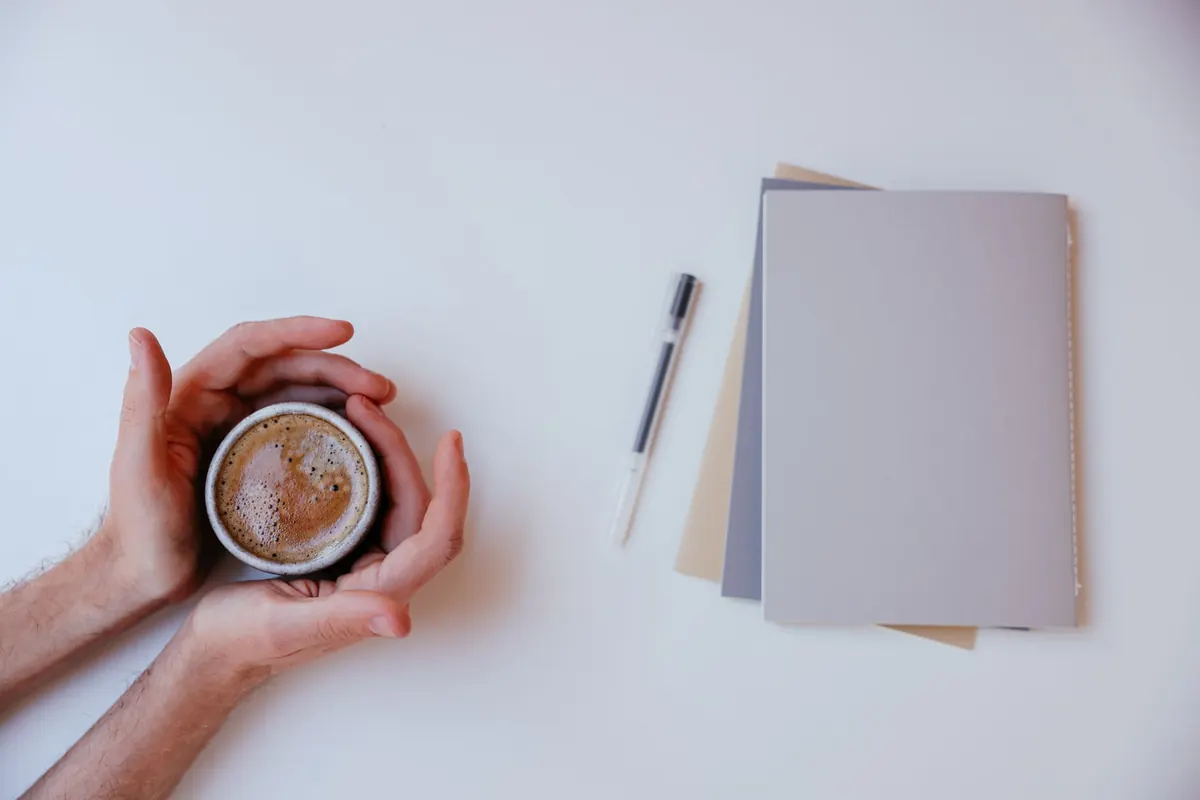
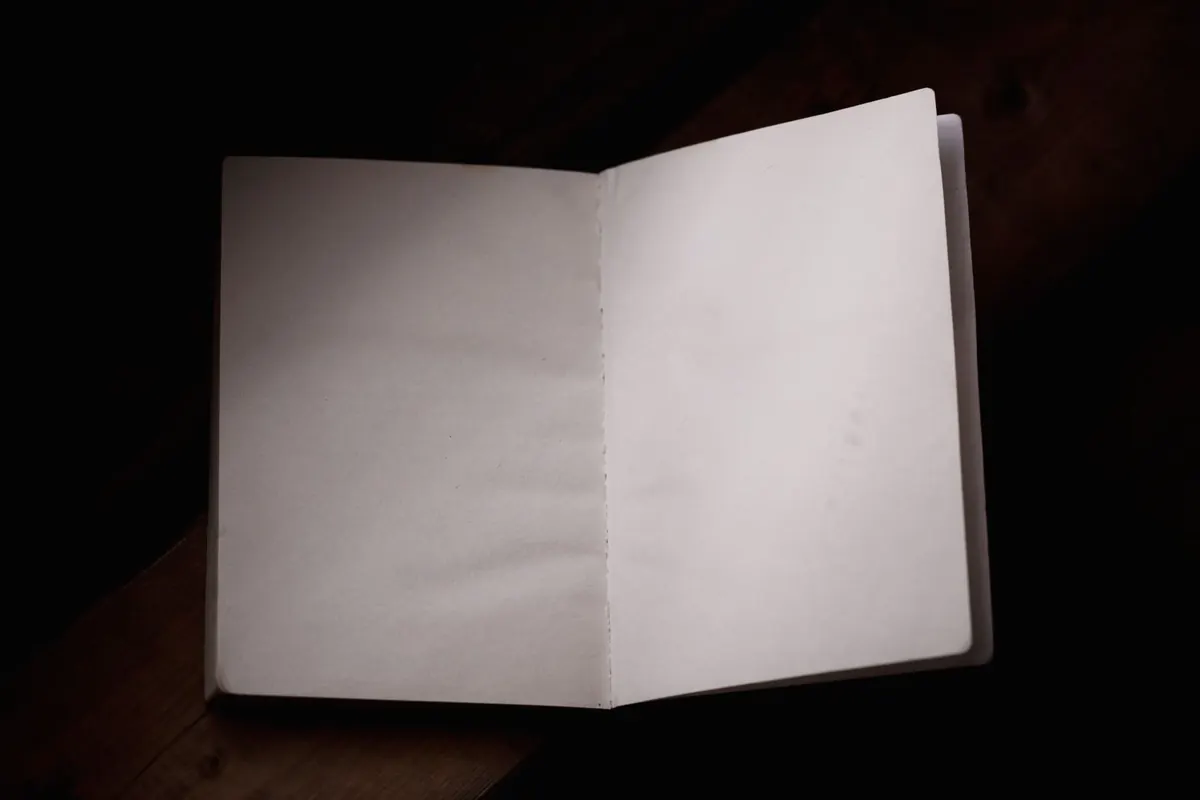
Look for paper of at least 90 gsm if you write with gel ink, rollerball, or a fountain pen; thinner paper ghosts badly and bleeds through. If you can, open the notebook in the shop and press it flat. A stitched binding or a purpose-made lay-flat spine will stay open on the table, which matters when you're writing with one hand and holding a coffee with the other. Tightly glued spines fight you on every page.
For ruling, dot grid is the safest first choice. It gives you a faint line to write along, a grid for habit trackers and tables, and enough blank space that a page doesn't feel like a form to fill in. Lined paper is fine if you know you only want to write prose. Plain paper looks beautiful and is the least forgiving for a beginner.
The second item is the one people forget: a test pad. Any cheap exercise book will do, as long as you use it for the right job. Before you commit a pen to a fresh page, write three lines on the pad, wait a minute, and turn the sheet over. You're checking for three things: feathering at the edges of the letters, show-through on the reverse, and how long the ink takes to stop smearing. Left-handed writers should pay particular attention to that last one, since a slow-drying gel ink will end up on the side of your hand rather than in the notebook.
Writing Tools: Two Pens and a Pencil
Your main pen has one requirement above all others: it should feel comfortable after twenty minutes, not just two. A fine gel pen around 0.5 mm, a rollerball, or a fountain pen with a fine nib will all do the job. Ballpoints are worth avoiding for longhand — they need pressure to lay down ink, and your hand will ache before you've filled a page. Test the pen in the shop on the paper you plan to use, or buy from somewhere that lets you return it.
A second pen in a contrasting ink earns its place quickly. If your main pen is black, keep a dark blue or a deep green nearby and use it for dates, headings, and the questions you want to come back to. Two colours are enough to give a page structure without turning it into a design project.
A pencil is the third tool, and it's the one that keeps you from ruining pages. Use an HB or 2B to sketch a monthly grid before you commit to ink, to draft the layout of a spread, or to run a habit tracker you might want to adjust. Anything you're unsure about is easier to decide in graphite.
Markers, Tabs, and Tape
One soft highlighter is plenty. Choose a muted colour rather than a fluorescent one — pastel and mild pigment markers are less likely to bleed and less likely to shout across the page. Use it to mark a single line a day, to flag a sentence you want to remember, or to shade the box of a habit tracker. Test it on the test pad first: highlighters are the tool most likely to show through.
Page flags, the narrow repositionable kind, are how you find things again. Write a small date or a two-word label on the tab itself, then stick it to the edge of the page. Keep three or four active at a time — the current month, a list you keep returning to, a page you've left blank on purpose. If every page is tabbed, none of them are findable.
Two rolls of washi tape will cover most of what you need: one narrow (around 5 mm) for marking edges and taping in small things, one wider (around 15 mm) for covering mistakes and reinforcing a spine. Washi is low-tack, which is exactly why it's useful for taping in receipts, tickets, and photos you may want to move later. Just don't expect it to hold anything heavy.
The Small Tools That Keep a Spread Tidy
These are unglamorous and quietly essential.
- A glue tape runner. Dry, quick, and it won't wrinkle the page the way liquid glue does. A glue stick works too and is easier to find, but tape is tidier for thin paper.
- A 15 cm ruler. Metal if you can, plastic if you can't. Use it for drawing grid lines, tearing tape cleanly, and checking that your margins aren't drifting.
- A small pair of scissors. Sharp ones, kept with the kit rather than in a kitchen drawer, for trimming washi and cutting down printouts or photos.
- Two binder clips. Clip the pages you've already written to hold the notebook flat near the spine, and use the second to hold receipts and clippings until you glue them in.
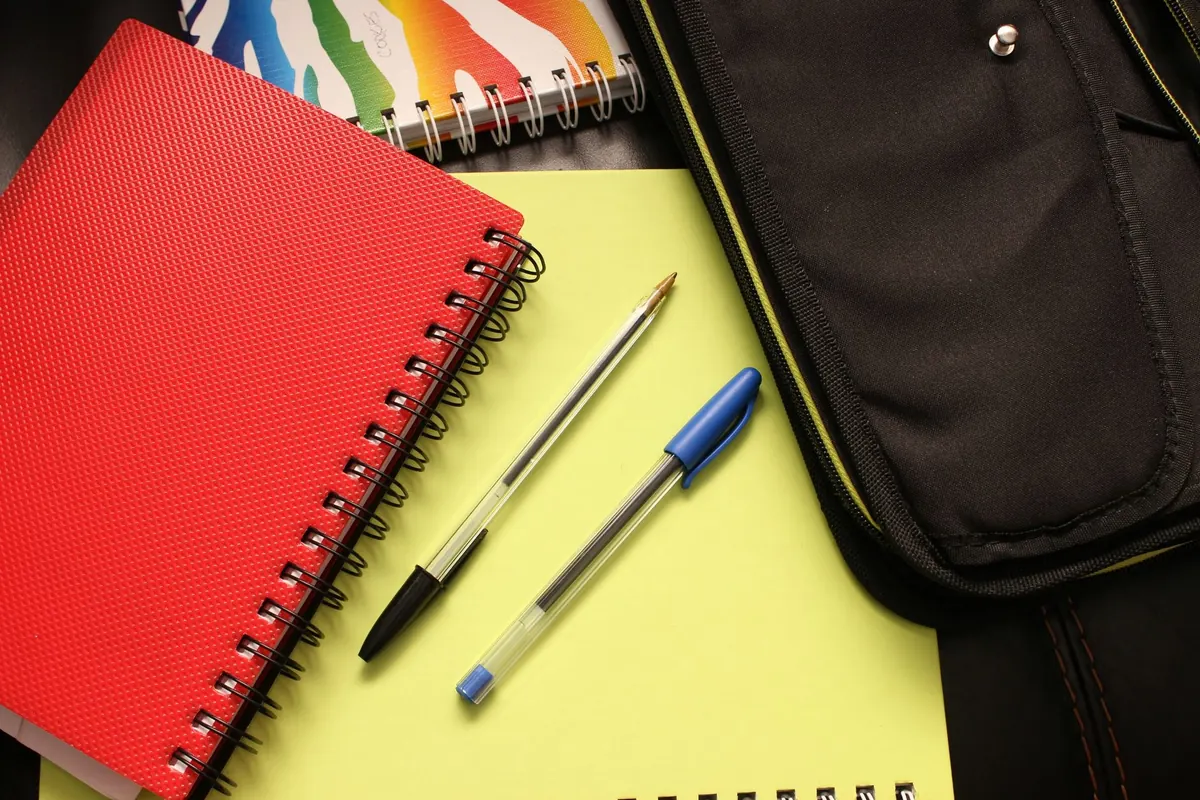
- A pen case. A zip pouch or a canvas roll with a little structure so the pens don't get crushed at the bottom of a bag. The real value is that the whole kit lives in one place, so you can pick it up and start writing in ten seconds.
The Twelve Essentials at a Glance
- An A5 notebook with paper you've tested and a binding that lies flat
- A cheap test pad for ink checks and layout sketches
- A main pen you can hold comfortably for twenty minutes
- A second pen in a contrasting ink for dates and headings
- An HB or 2B pencil
- One soft highlighter in a muted colour
- A pack of narrow page flags
- Two rolls of washi tape, one narrow and one wide
- A glue tape runner or glue stick
- A 15 cm ruler
- A small pair of scissors and two binder clips
- A pen case to keep it all together
Build the Kit Slowly
Resist the pre-assembled bundles with forty markers and a dozen sticker sheets. They look generous and most of it stays in the box. A better approach is to buy the notebook and one pen first, then write in them for a week before adding anything else. You'll learn what you actually reach for. If you never highlight, don't buy a highlighter. If your spreads keep running off the edge of the page, that's when the ruler earns its place.
When you do add something, choose the version you'll be happy to use for a year rather than the cheapest option in the shop. A pen that feels good in your hand gets used; a pen that doesn't becomes clutter. Keep the finished kit small enough to fit in a pouch the size of a paperback, so it travels with you and the habit goes with it.
Photo: Pixabay / Pexels